Title
Create Workflow in SharePoint 2010
Introduction
Workflow is sometimes described as a series of tasks that produce an outcome. In the context of Microsoft SharePoint Products and Technologies, workflow is defined more narrowly as the automated movement of documents or items through a sequence of actions or tasks that are related to a business process.
In this post we will see how to create simple workflow in SharePoint 2010 (Foundation), I’ll be using SharePoint Designer 2010.
Step1. Create a list on which you want to trigger workflow.
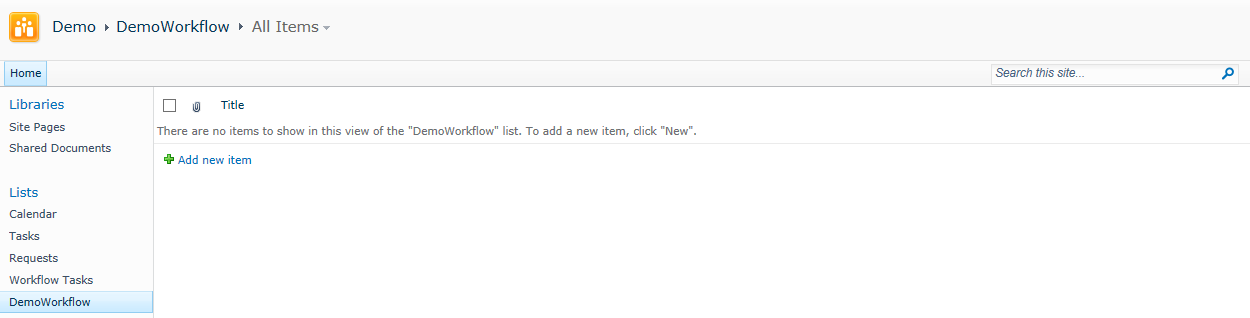
Here I’ve created a list “DemoWorkflow”, now I’ll be creating a workflow which will send mail whenever a new item is added to this list.
In order to create workflow:
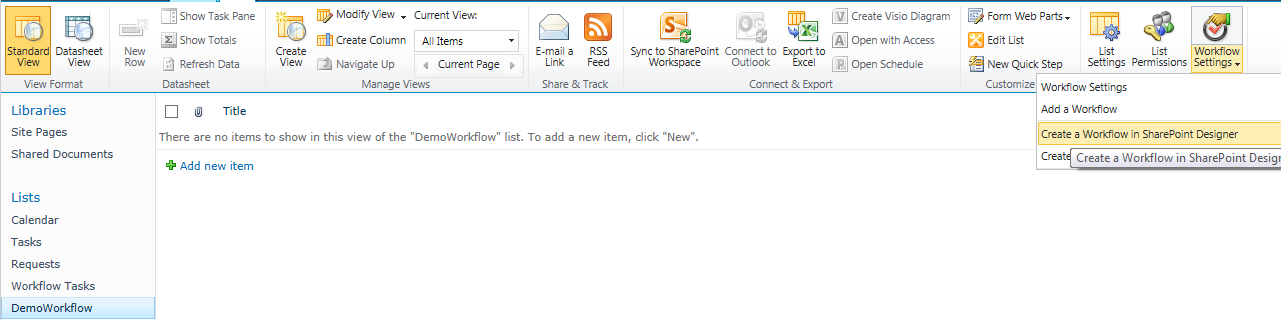
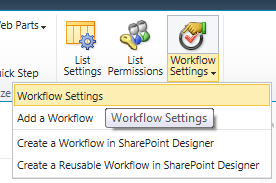
- Go to List (under list tool) on SP Ribbon.
- Click on Workflow Setting options and select “Create a Workflow in SharePoint Designer”.
- SharePoint Designer window will be loaded.

Provide a name for the Workflow and click OK.
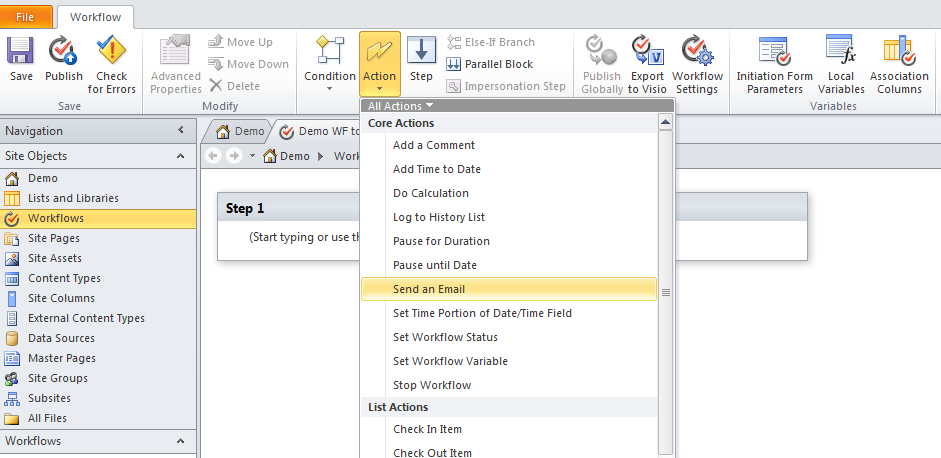
Workflow configuration window will open, where you’ll be having various options (actions) and condition which you can use to create Workflow.
Our task is to create a viagra belgique workflow whenever a new item is added.
- Go to Actions
- Under Core Actions heading, select “Send an Email” option.

A screen will appear, Email these users, click on these user and enter the email id at which you want to receiver emails.
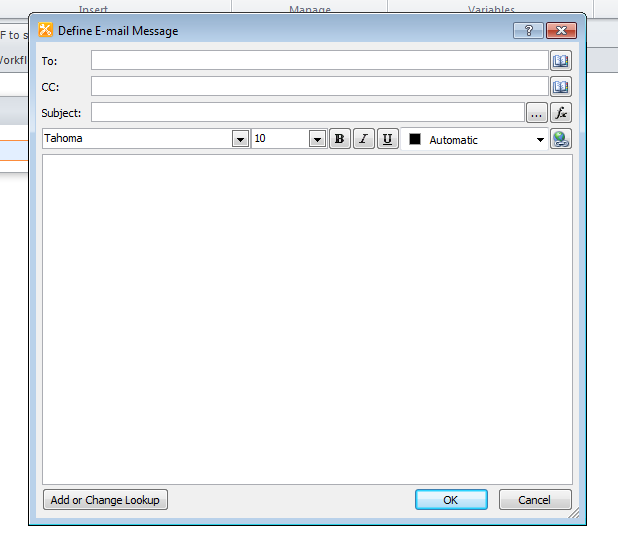
You can provide all the details in this panel and click OK
After this click on “save button” (in SP ribbon) this will save your workflow XOML file.

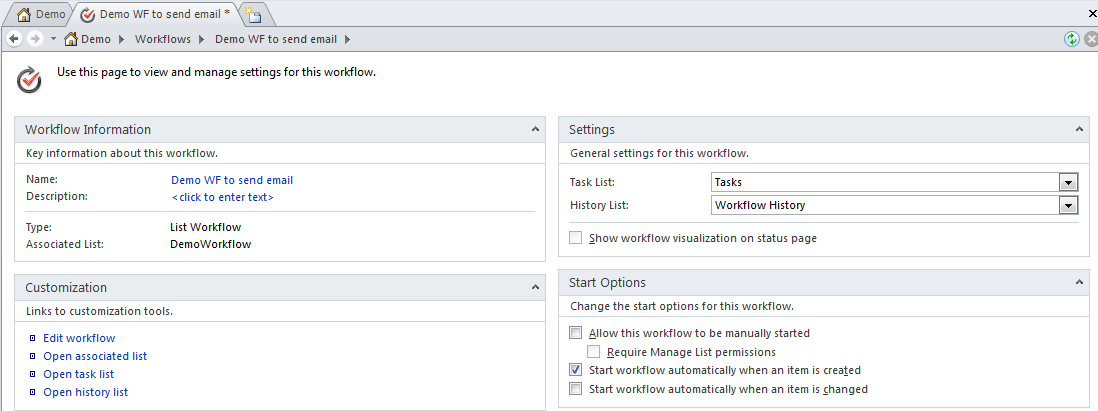
Only saving the workflow will not trigger the workflow, until and unless you publish it. But before we publish this workflow, we need to set its Start Option.
Select option “Start workflow automatically when an item is created” and this will trigger workflow automatically whenever user adds and new item in the list, and then save it.
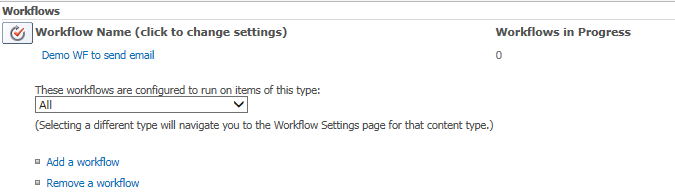
Reason why we need to publish workflow is, if we don’t publish the workflow it will not get associated with the list for which we are creating workflow. See screen shot below
Go to workflow setting and you will find a message that, there is not workflow associated with the list.
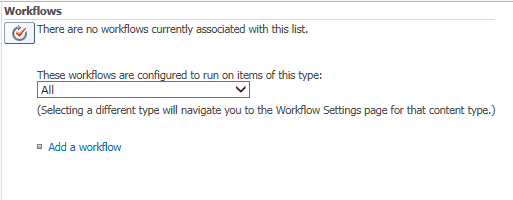
But after we publish the workflow, we can see that our workflow is not associated with our list.